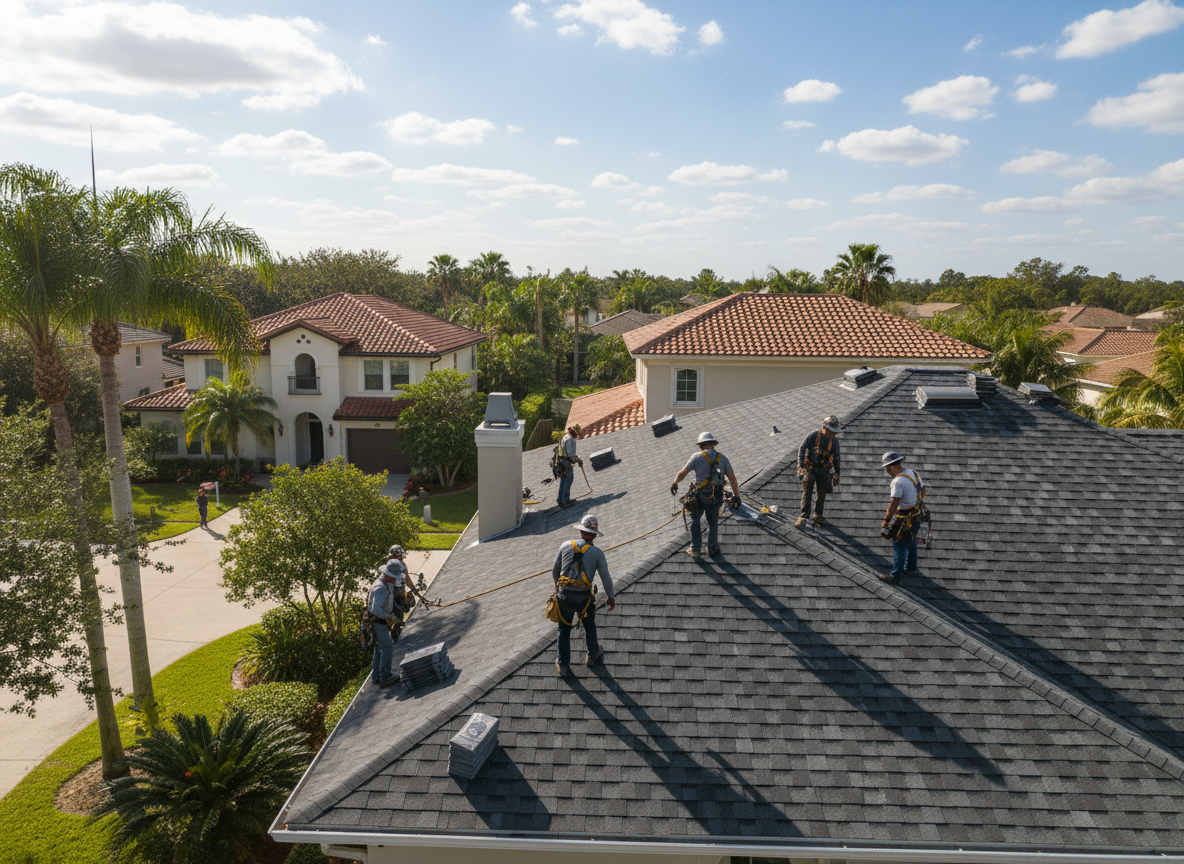
A new roof is built before there is anything underneath it to protect. That is what separates installation from replacement: on a new build or an addition, the roof is one trade in a sequence, and getting it right depends on what the framer, the plumber and the air conditioning contractor did before the roofers arrived. Roof installation in Florida is also where the state's wind requirements are set for the life of the building, because the covering and the way it is fixed are approved as a system. Call (407) 557-4529.
What Makes New Installation Different From a Replacement?
There is no existing roof to read. Every decision has to come from the drawings, the code and the building's intended use.
On a replacement, the old roof tells you what has worked and what has not: where the valleys collect debris, which slopes take the weather, where the deck has been wet. On a new building there is none of that history, so the details have to be designed rather than learned. Valley width, roof pitch, penetration layout and the position of the ridge all matter more, because they cannot be adjusted later without opening the roof.
The second difference is sequence. On a new build the roof follows the framing and precedes the interior finishes, and the dry-in date is a fixed point in a schedule that other trades depend on. A roofer who arrives before the framer has finished leaves a roof that cannot be closed; one who arrives after the interior is hung risks water damage to finishes that were installed under an open roof.
The third difference is inspection. A new building is inspected at stages by the local building department, and the roof is part of that. Sheathing attachment, underlayment and the finished covering are all seen at points the roofer does not control, which means the work has to be built to what the inspection will look for rather than to what is fastest.
Why Get Installation Right Before the Interior Is Finished?
Because every roof defect on a new building is discovered from below, through a finished ceiling.
A leak on a new build is uniquely expensive. On an existing house, a ceiling stain is a repair. On a new one, it is a repair plus a warranty argument plus a delay in handover, and the ceiling, insulation and paint are all already done. The cost of getting the dry-in and the detail work right at the time is small next to that.
Florida raises the stakes in two ways. The first is rain: a new build that is dried in during the wet season will be tested, and a roof that is only partly closed will find out where its weaknesses are. The second is wind: the covering and its attachment are approved as a system under the Florida Building Code, and the design wind speed for the site is a published value. A system installed outside its approval, or with the wrong fastener pattern, is a system that does not meet the design basis of the building, and that matters both for inspection and for insurance.
There is a scheduling argument too. Ventilation and penetration layout are cheap to change before the covering goes on and expensive afterwards. Getting the roof geometry right while the framing is exposed saves cutting into a finished roof later, which is the single most common cause of a leak on a new house.
What Should a New-Roof Handover Include?
Drawings as built, product approvals, inspection records and photographs of everything that will be hidden.
The approvals matter more on a new building than on a replacement, because the covering is part of the building's compliance. Roof coverings and their components are approved products in Florida, and in the High-Velocity Hurricane Zone the approval requirement is explicit.
The inspection record matters because a new building's roof is inspected in stages, and the homeowner or the eventual buyer may need to show that each stage was seen. Keep the dates and the outcomes.
Photographs of the underlayment, the flashings and the fastening pattern before the covering closed are the only evidence of how the roof was built. On a replacement these are useful; on a new build they are the record.
And the scope should state what was excluded. On a new build the roof meets other trades: the framer's sheathing, the plumber's vents, the HVAC contractor's curb. Naming who is responsible for what prevents the gap where two trades each assume the other did it.
Ours carries the same details: Florida Roof Repair Pros, 4720 Millenia Blvd, Suite 175, Orlando, FL 32839, (407) 557-4529.
The Addition That Meets an Existing Roof
A homeowner adds a room at the back of a 1990s house and the new roof has to meet the old one along a wall and a valley. This is the most common installation problem a homeowner will ever be involved in, and it is where new-build discipline meets existing-roof reality.
The architect's drawings show a clean junction. The existing roof, when it is opened, shows something else: the original underlayment is at the end of its life where the new work meets it, the wall flashing has been sealed twice with compound rather than replaced, and the framing does not line up with the new plane the way the drawing assumed.
There are three honest options. The first is to tie in and leave the old underlayment, which works only if the old material is sound at the junction. The second is to open the existing roof far enough to replace the underlayment in the transition zone, which is a small area of new work on the old roof and usually the right answer. The third is to replace the affected existing slope, which is sometimes unavoidable when the junction lands on a slope that is already failing.
What goes wrong is the fourth option, which is not an option at all: sealing the junction with compound and calling it tied in. That holds for a season. Water then works along the wall, under the new work and into the old roof, and the leak appears in the room below the old slope rather than the new one, which makes it hard to trace. By then the addition is finished and the fix involves opening a ceiling.
Two things prevent it. The first is opening the existing roof at the junction before the new work is priced, so the condition is known rather than assumed. The second is a written tie-in detail, agreed between the person who built the old roof and the person building the new one, with photographs before and after.
If the addition also changes the roof geometry, watch the valleys. A new plane that discharges into an existing valley increases the flow through a channel that was sized for less water, and a valley that was marginal becomes a leak. Widening the valley and checking the underlayment beneath it is part of the job, not an extra.
The Parts of a New Roof Installation
Dry-In and the Framer's Schedule
Dry-in is the point where the roof can shed water: sheathing, underlayment and flashings in place, covering still to come. On a new build it is the milestone that lets the interior trades start.
Getting there depends on the framer finishing, the sheathing inspection passing and the roofers being available in the right window. Sequencing it late costs interior work; sequencing it before the framing is complete leaves a roof that cannot be closed.
On a Florida build in the wet season, dry-in should be treated as the critical date on the schedule rather than a detail of it.
Tie-Ins to an Existing Roof
A tie-in is where new roof meets old, and it is the highest-risk detail on any addition. Water arriving at that junction has two directions to travel, and both lead inside.
The existing assembly has to be opened far enough to see the underlayment and the wall detail, and the new work has to lap over sound material rather than over a sealed-over joint. Where the old material is at the end of its life at the junction, replacing that section is part of the tie-in.
Agree the detail in writing before the work starts, with a photograph of the opened junction. It is the cheapest insurance on the whole job.
Wind Design and Product Approval on a New Building
A new roof is designed for a wind speed, and the covering is approved as a system to resist it. The attachment pattern, the fasteners and the underlayment are all part of that approval, not separate choices.
In Florida the design wind speed for a site is a published value, and in the High-Velocity Hurricane Zone the requirements are more demanding again. Installing a covering outside its approval invalidates the system even if the roof looks correct.
Ask for the approval numbers for every product going on the roof, and keep them with the building documents. They are what demonstrates compliance years later.
What Should You Confirm Before the Roofers Start?
Confirm who is responsible for what at the interfaces. The framer owns the sheathing; the roofers own what goes on it. The plumber sets the vents; the roofer flashes them. The HVAC contractor builds the curb; the roofer covers it. Those handovers are where new-build leaks come from.
Confirm the sequence dates and who calls for inspections. On a new building the inspections are staged and the schedule depends on them, so the responsibility should be written down rather than assumed.
Confirm the covering selection against the drawings and the approvals, and check that the fastening pattern specified matches the approval for the design wind speed at the site.
Confirm access and protection: where material will be stored, how it will be lifted, and what happens to the landscaping and the driveway. On a new build, other trades are working at the same time, and a roof installation that blocks access costs everybody a day.
Then confirm the handover: approvals, inspection records and photographs of the closed-in work. On a new building those documents are part of the property's history, and they are worth more than the invoice they arrived with. Florida Roof Repair Pros, 4720 Millenia Blvd, Suite 175, Orlando, FL 32839, (407) 557-4529.
Roof Installation Services We Offer
✓New-Build Dry-In
Sheathing, underlayment and flashings installed to close the building against rain on schedule.
✓Addition Tie-In
New roof joined to an existing assembly with the junction opened, assessed and documented.
✓Approved System Installation
Covering and fastening installed within the product approval for the site's design wind speed.
How it works
- 1
Review the drawings
Geometry, penetrations, ventilation and the specified covering checked against the site.
- 2
Agree the interfaces
Who owns sheathing, vents, curbs and flashings, written down before work starts.
- 3
Dry in on schedule
Underlayment and flashings installed as soon as the framing and inspection allow.
- 4
Install the approved system
Covering and fasteners fitted to the approval for the design wind speed at the site.
- 5
Hand over the record
Approvals, inspection outcomes and photographs of the work before it was closed in.
Pricing
Installation is priced from the drawings and the approved system: roof area, geometry, penetration count and the covering specified all set the scope. The estimate separates sheathing, underlayment, flashings, covering and ventilation.